Calibrating Your Thermometer for BBQ Season: The Key to Perfect Results
This comprehensive blog post explains the importance of calibrating BBQ thermometers for accurate temperature readings, which are essential for food safety and perfect cooking results. It provides step-by-step instructions for calibrating thermometers using the ice water and boiling water methods, discusses different types of thermometers and their calibration requirements, and includes maintenance tips for prolonging accuracy between calibrations.
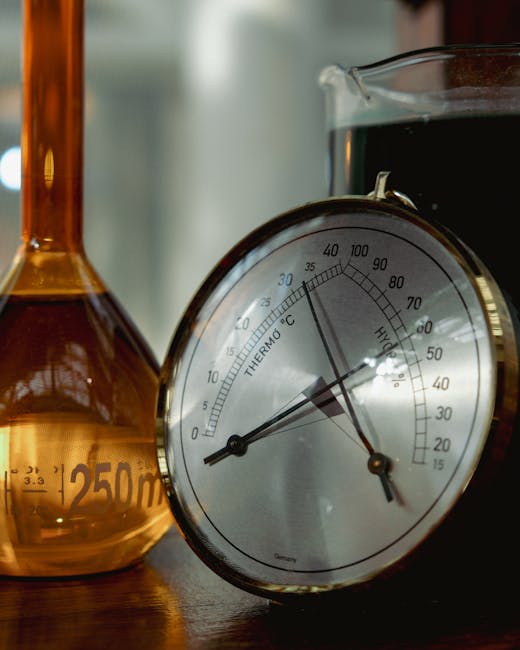
Calibrate your thermometer in ice water (should read 32°F ± 1°F) and boiling water (should read 212°F at sea level, adjusting 1°F for every 500 feet of elevation). Do this at the start of BBQ season, after any drop, and any time readings seem off. Takes under 3 minutes. Skipping it is how people serve chicken at 161°F thinking it's 165°F.
Why Calibration Matters
Thermometer probes drift over time. Heat cycling, physical impacts, moisture in the electronics, and normal sensor degradation all cause readings to shift. A thermometer that was accurate to ±0.5°F when new may be reading 3–4°F off after two years of regular use.
Here's the practical consequence: if your thermometer reads 3°F high, and you pull chicken when it reads 165°F, the actual internal temperature is 162°F. The USDA minimum for poultry is 165°F for a reason — it's the temperature at which Salmonella is reliably killed. 162°F is on the edge.
For brisket and pork shoulder, the stakes are lower from a safety perspective (those cook well above safe temps anyway), but a 3–4°F error changes your pull point from 203°F to 207°F real temperature. That difference in the brisket flat is between "perfect" and "slightly dry." It matters.
Equipment You Need
| Item | Purpose |
|---|---|
| Ice (lots of it) | Create calibration bath at 32°F |
| Tall glass or container | Holds ice water with room for the probe |
| Boiling water (optional) | Second calibration point at 212°F |
| Recalibration wrench (analog only) | Adjust the dial on bimetallic thermometers |
Step-by-Step Calibration
Ice Water Method (Primary Test)
Step 1: Fill a tall glass completely with ice. Add just enough cold water to fill the spaces between ice cubes. The ice-to-water ratio should be heavily ice — you want the water to be ice cold throughout, not just at the top.
Step 2: Let the glass sit for 2 minutes to ensure the water has fully equilibrated to 32°F. The water temperature at equilibrium in an ice bath is 32°F (0°C) at sea level — this is basic physics, not an approximation.
Step 3: Insert the probe 2 inches into the center of the ice water. Do not let the probe touch the sides or bottom of the glass — these are warmer than the center of the ice bath. Hold steady for 30 seconds until the reading stabilizes.
Step 4: Read the temperature. Acceptable: 31–33°F (±1°F). If it reads 29°F or 35°F, the thermometer needs recalibration (analog) or replacement/offset adjustment (digital).
Boiling Water Method (Secondary Test)
Step 1: Bring water to a full rolling boil. Insert the probe 2 inches into the boiling water, not touching the pot sides or bottom.
Step 2: Calculate your expected reading. At sea level: 212°F. Subtract 1°F for every 500 feet of elevation. Denver (5,280 ft): 212 – 10.5 = 201.5°F expected. If your thermometer reads within ±1°F of the expected value, it's calibrated.
Note: The boiling water method requires you to know your elevation and to account for it. If you're not sure of your elevation, skip this test and rely on the ice water method only.
Calibrating by Thermometer Type
Digital Instant-Read Thermometers
Most digital instant-reads don't have a manual calibration adjustment. If they're off, you have two options: (1) note the offset and mentally adjust all readings, or (2) replace the unit. A thermometer that reads 3°F high: when it says 165°F, the actual temp is 162°F — factor that in. Some premium models (ThermoWorks, Lavatools) have a calibration offset mode in the settings — check your manual.
Analog Dial Thermometers (Bimetallic)
Most analog thermometers have a calibration nut under the face of the dial. Look for a hexagonal nut — you'll need a small wrench or pliers. Insert the probe in ice water, let it stabilize, then while holding the probe in position, turn the nut to adjust the dial to 32°F. This takes 30 seconds. Do it once a season and after any impact.
Leave-In Probe Thermometers
Follow the same ice water method. If the probe reads off, check whether the manufacturer's app or receiver has an offset calibration setting — many do. ThermoPro and ThermoWorks units typically allow ±9°F offset adjustment. Set the offset to compensate for the measured error and verify in ice water again.
Wireless Probes (MEATER, etc.)
These have factory calibration and typically can't be manually adjusted. Check the app for calibration settings. If the probe is consistently off by more than 3°F, contact support — many brands will replace out-of-spec probes under warranty. Keep your ice water test result as documentation.

Common Mistakes
Using too little ice in the ice bath. A glass half-full of ice with a lot of water isn't 32°F throughout — the water far from the ice may be 35–38°F. Pack the glass with ice and add minimal water. More ice = more accurate calibration bath.
Touching the glass sides or bottom with the probe. Glass at room temperature is warmer than the ice bath. Even brief probe contact with the sides gives a falsely high reading. Insert the probe into the center of the liquid and hold it there without touching the glass.
Not waiting for the reading to stabilize. An instant-read thermometer needs 3–5 seconds in the ice bath before the reading settles. Don't read it while it's still climbing or dropping. Wait for the display to hold steady for 2+ seconds before recording the number.
Calibrating in tap water instead of distilled water. Dissolved minerals in tap water can lower the freezing point slightly. At home this effect is minimal (under 0.1°F), but if you want precise calibration, use distilled water in the ice bath. For BBQ purposes, tap water is fine — the minerals-related difference is smaller than any other source of error.
Only calibrating one type of probe. If you have both an instant-read and a leave-in probe for a long cook, calibrate both. Running two uncalibrated probes doesn't give you error-checking — it gives you two potentially wrong numbers that agree with each other.
Pro Tips
Calibrate before every major cook, not just every season. Probes dropped on concrete, whacked on a smoker grate, or used at very high temperatures can shift calibration immediately. 2 minutes in ice water before a 14-hour brisket smoke is cheap insurance.
Cross-check two thermometers against each other. Insert both your instant-read and your leave-in probe into the ice bath simultaneously. If they agree within ±0.5°F, both are probably accurate. If one reads 32°F and the other reads 35°F, you know one is off but not which. That's when the boiling water test gives you a second data point to identify the outlier.
Document your calibration check results. A 30-second note on your phone: "5/7/26 – ThermoPop: 32.5°F ice water, 211.5°F boiling (my elevation 500ft, expected 211°F). Within spec." If you suspect problems later, you have a reference baseline.
For all USDA-safe minimum temperatures by protein, see the USDA food safety resource — these are the targets your calibrated thermometer needs to confirm.
FAQ
How often should I calibrate my thermometer?
Minimum: once per grilling season and after any physical impact. Better: before any cook where food safety matters (all of them). Realistically, a quick 2-minute ice water check before each use adds almost no time and catches any drift before it affects your cook.
My digital thermometer reads 34°F in ice water — is it accurate enough?
Borderline. A 2°F error means your chicken at a "165°F" reading is actually at 163°F — technically below the USDA safe minimum. Either recalibrate (if adjustable), set the ±2°F mental offset and pull chicken at 167°F on the display, or replace the unit. For brisket and pork shoulder, 2°F matters less — but it's worth correcting.
What if my analog thermometer can't be recalibrated?
Some older or cheap analog thermometers don't have a calibration nut. If the thermometer is consistently off by more than 2–3°F and can't be adjusted, replace it. A $10–15 analog thermometer that reads 5°F high is worse than useless — it will give you false confidence.
Does altitude affect the ice water calibration?
No — the freezing point of water is 32°F at any altitude (it's only the boiling point that changes with altitude). The ice water method is universally reliable regardless of elevation. This is why most professionals prefer it over the boiling water method.
Can I use snow instead of ice cubes for the calibration bath?
Yes. Freshly packed snow in water also creates a 32°F bath. Use the same technique — pack the container with snow, add minimal water, wait 2 minutes before testing. Ensure the snow hasn't been treated with salt (road salt lowers the freezing point).
If I have a probe that's 3°F off, should I replace it or use an offset?
If the error is consistent (always 3°F high, not randomly 1–5°F depending on temperature range), use the offset — either a mental adjustment or a digital offset setting if available. If the error is inconsistent or varies across the temperature range, the probe is degrading unpredictably. Replace it. An unpredictably inaccurate thermometer is worse than no thermometer for food safety decisions.
Recommended by Titan Grillers
IP67 Waterproof Digital Meat Thermometer
Reads in 2–3 seconds · Backlit LCD · Built-in magnet · Free returns
Free BBQ Calculators
Use our free tools to nail your cook times, temperatures, and quantities every time.
You Might Also Like


Join the Grill Masters Club
Get exclusive recipes, techniques and special offers on our premium meat thermometers.